Criar uma reunião
Histórico
You can use the Meetings tool to create detailed agendas for your project meetings. The first step in the process is to create the meeting. This process lets you set the date, time, location, and attendees. This process is described in the Steps below. Once the meeting is created, you can move on to create categories, which are used to group agenda items into subjects. Then, you can add the individual agenda items to your categories.
Fatores a considerar
-
The meeting must be in agenda mode. This is the default setting when you create a new meeting.
To learn how to convert a meeting to minutes mode, see Convert a Meeting to Minutes Mode.
Etapas
- Acesse a ferramenta Reuniões do projeto.
- Clique em + Criar reunião.
- Selecione + Novo ou selecione um modelo de reunião na lista.
- Em Informações da reunião, preencha os campos relevantes para a nova reunião.
Note: If no Start Time or End Time is selected, Procore will automatically set these to 12:00 AM.
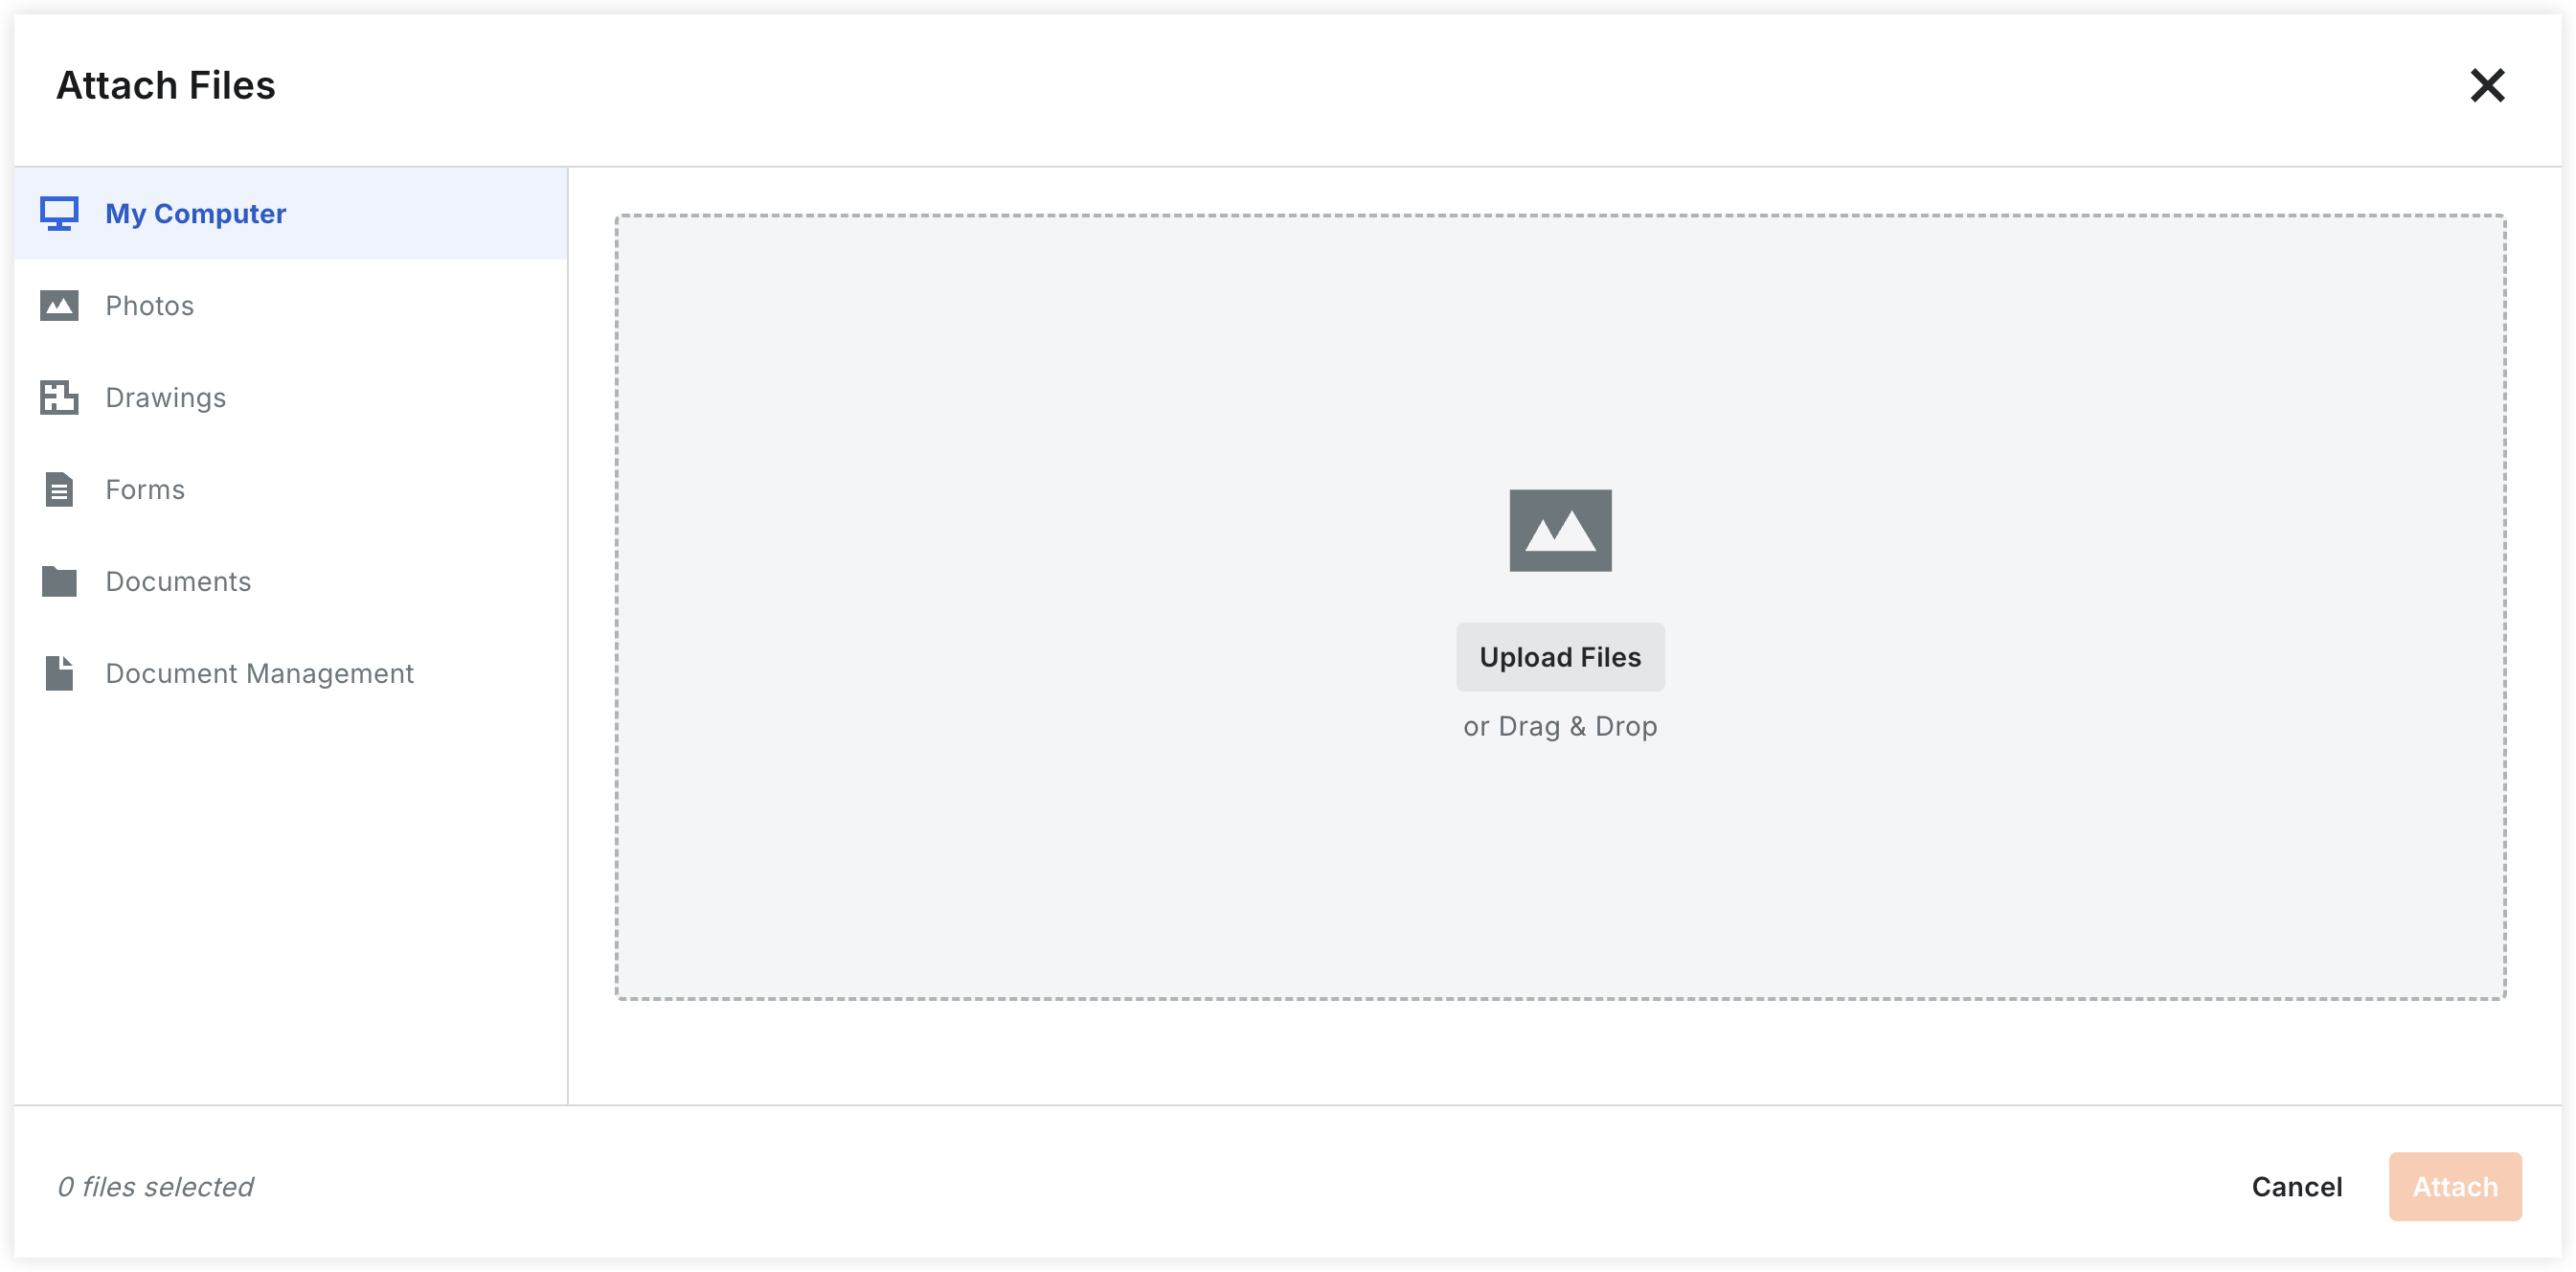
5. Add Attachments: Click Attach File(s) to open the upload modal. You can source files from the following locations:
-
My Computer: Upload files directly or use the Drag & Drop area.
-
Photos: Attach images directly from the project’s Photos tool.
-
Drawings: Link specific sheets from the Drawings tool.
-
Forms: Attach filled-out forms from the Forms tool.
-
Documents: Select files already stored in the project's Documents tool.
-
Document Management: Attach files from the Document Management tool.
6. Add Attendees:
-
Select users from the drop-down list. (Users must have 'Read Only' or higher permissions on the Meetings tool to appear here).
Note: Selecting 'Yes' in the Minutes Approval Requested field triggers a response workflow for the attendee.
7. Click Create and Proceed to Agenda.
Obs.
-
A banner appears to confirm that the meeting was created and the page title changes to 'Meeting Agenda for '
-
If you want to add additional categories to your meeting, see Create a Meeting Category.
-
If you want to add meeting items (a.k.a., agenda items) to your meeting, see Add a Meeting Item.
-
Procore automatically adds one (1) category, name 'Uncategorized Items,' to the meeting. You can rename this category by typing over the name.